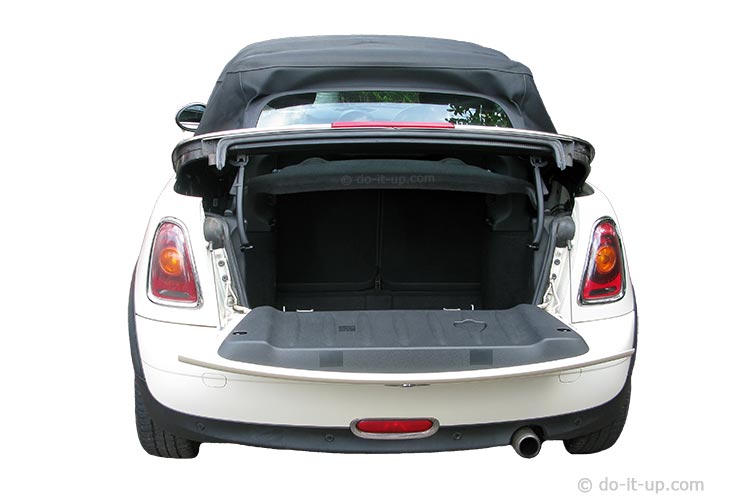
How to Remove a Boot (Trunk) Liner & Side Panels
Removing the boot liner and side panels is normally a straight forward job. Just removing a few screws and plastic fixings?
Occasionally there will be something that won’t come undone or some weird fixing. Just take your time, and work out where and how it comes apart, a panel at a time…
The images from this example are from a Mini R57 convertible. Other vehicles will be similar…
The Process:
Steps to take (to work out how it comes apart):
- Empty the boot.
- Fold the rear seats down (if necessary).
- Does the boot floor covering lift up? Remove it (it can be replaced later to stop stuff falling in the spare wheel well or tool storage area).
- Are there any lights, power sockets, switches etc attached. Is it better to remove them from the liner first?
- Look to see if the boot lining panels overlay each other. This may give a clue to the order they are removed or replaced?
- Look for the boot liner fixing points. What type are they?
- What tools do you need?
Topics:
- Removing the Boot Panels or Liner:
- Buying Tools & Parts:
- Refitting the Boot (Trunk) Liner or Panels:
- Hints & Tips:
- Image Gallery:
Removing the Boot Panels or Liner:
- The trim panel – Boot (Trunk) floor:
- The loading sill cover – Boot (Trunk) floor :
- The corner trim panels – Rear parcel shelf support (left & right):
- The side trim panels – Boot (Trunk) liner, (left & right):
The images in this article can be viewed in an image gallery…
The Trim Panel – Boot (Trunk) Floor :
Lift the boot (trunk) floor and place to one side. This should give easier access to the other trim panels in the boot (as they usually overlap).
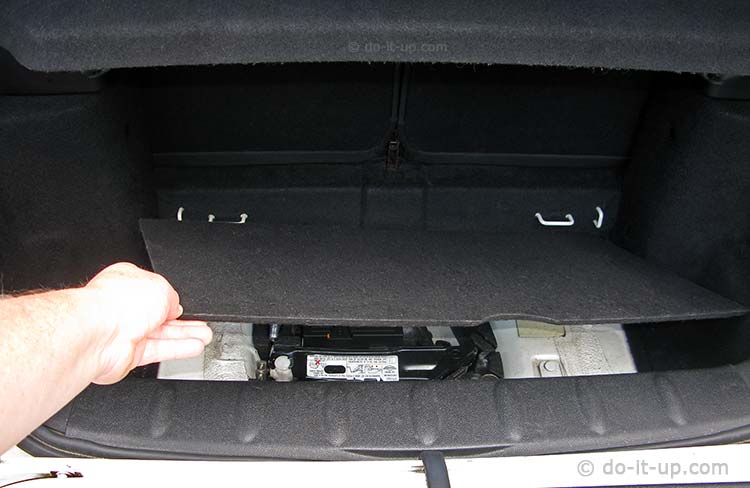
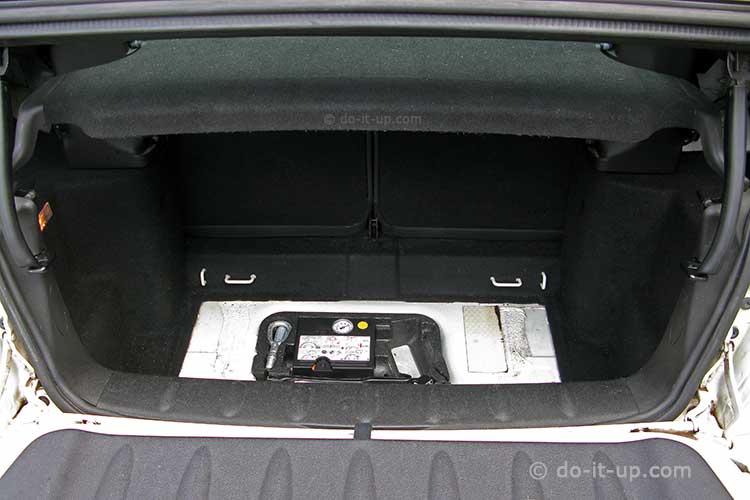
Quite often, you can just lift the boot (trunk) floor straight out (for easy access to the tools and the spare wheel). Sometimes there are some clips; check before you lift it out.
The boot floor panel can be temporarily replaced later, to stop bits (fixings) falling into the recess.
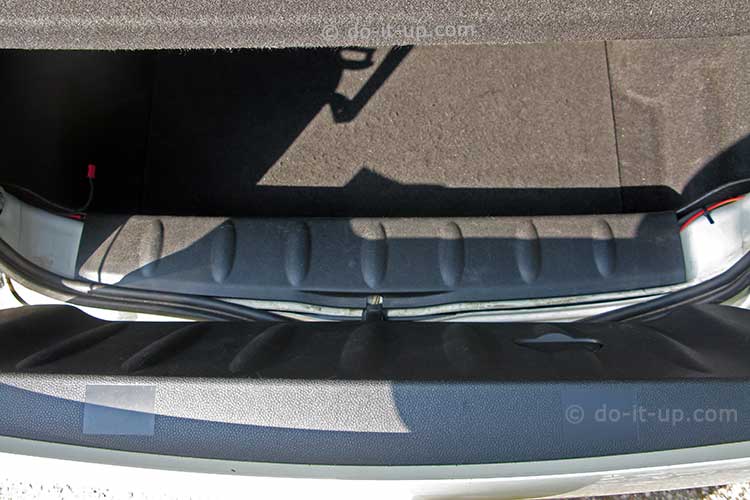
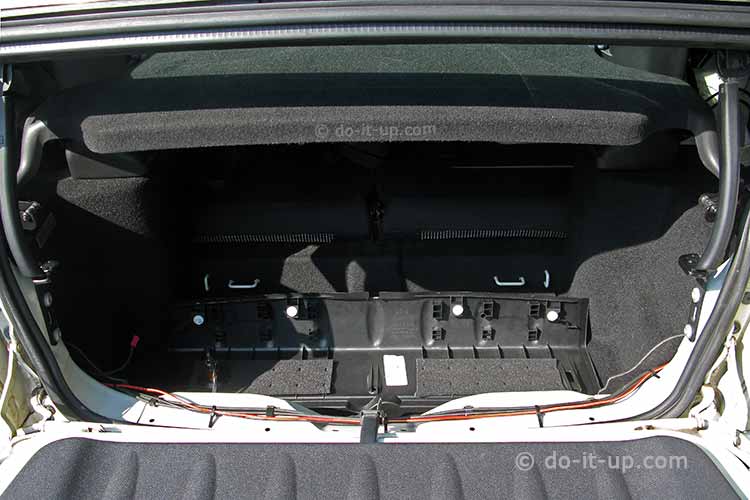
The Loading Sill Cover – Boot (Trunk):
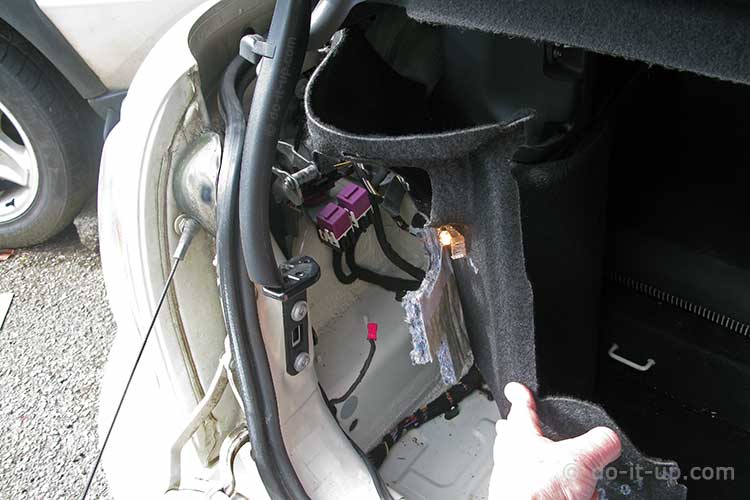
The loading sill cover can overlap the side panels, so this may need to be removed? It will expose some cables (and the convertible top hydraulic pipes).
This is held in place by plastic pin clips. There is also a boot power socket that will need to be disconnected before the panel can be removed.
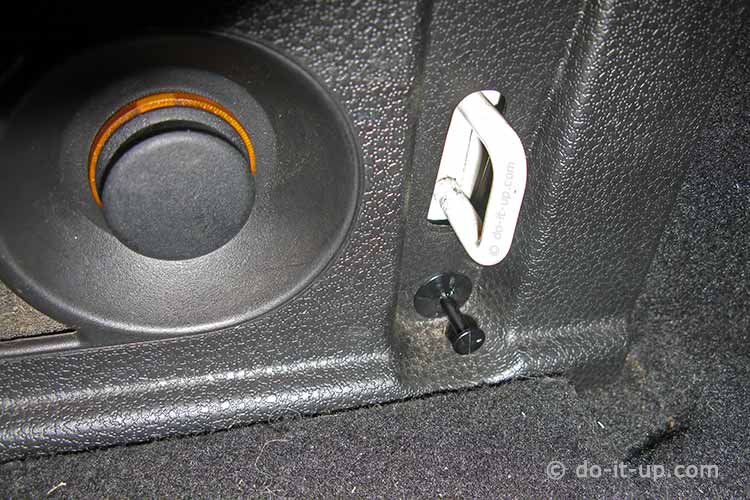
The Corner Trim Panels – Rear Parcel Shelf Support (left & right):
The corner trim panels are held in by two Torx screws on each side. The screws were removed and the plastic corner panel was turned through 90 degrees to remove it (there is a little bracket that passes through a hole in the corner panel).
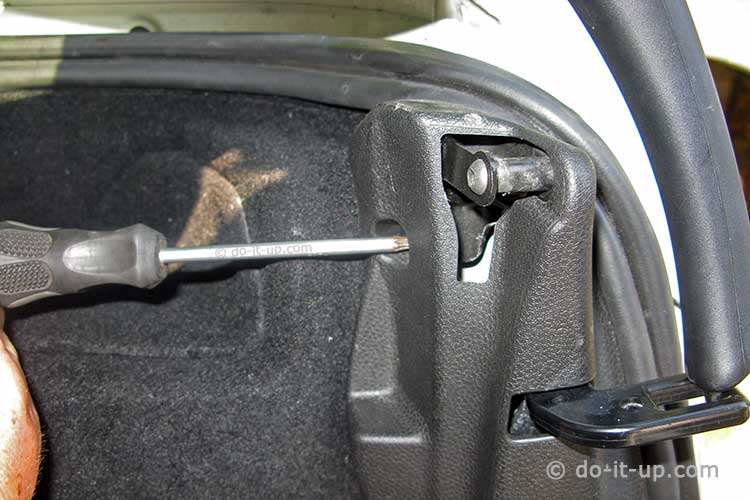
The left-hand corner panel also has a switch that tells if the rear parcel shelf is in the upper or lower position (so that the convertible roof electrickery knows if it has room to stow the convertible top). Unplug this cable and remove the panel.

The Side Trim Panels – Boot (Trunk) Liner, (left & right):
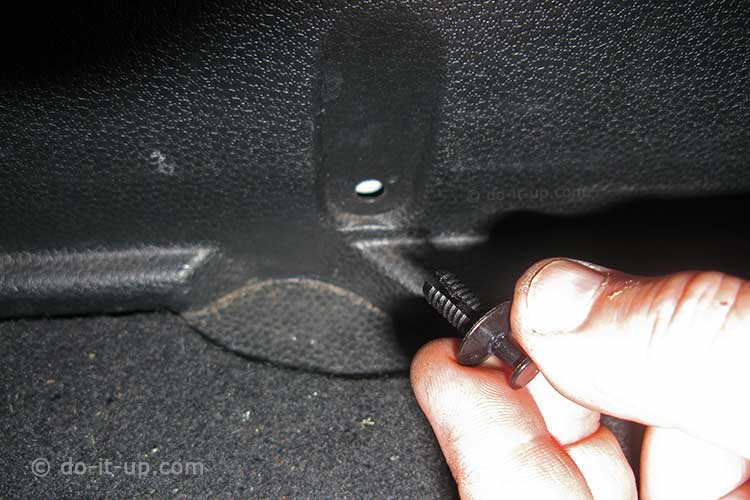
The rear seats will need to be folded flat to remove the side trim panels. Each side panel is held on by 2 plastic pin clips (One hidden by the rear seat).
To remove these:
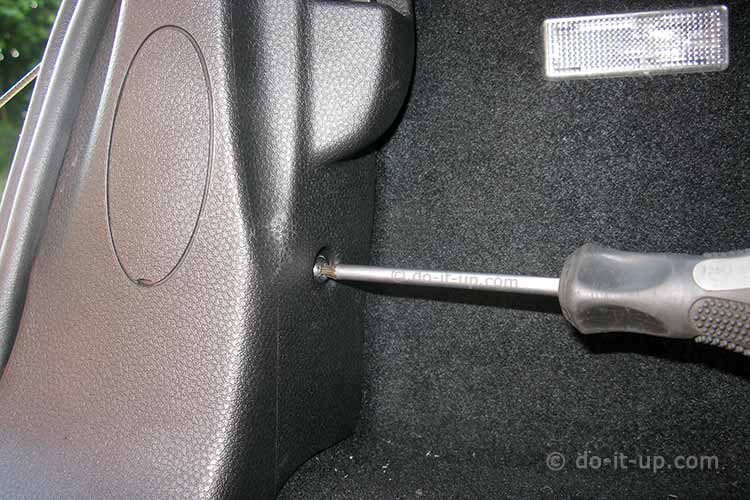
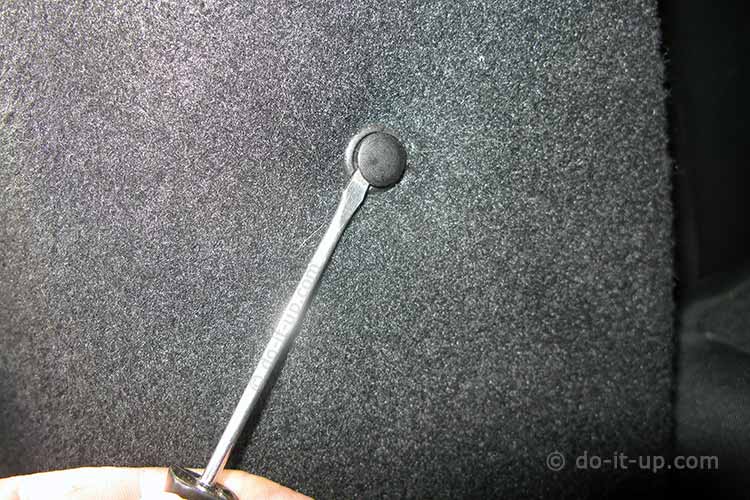
- Insert a wide flat head screwdriver behind the head of the plastic pin.
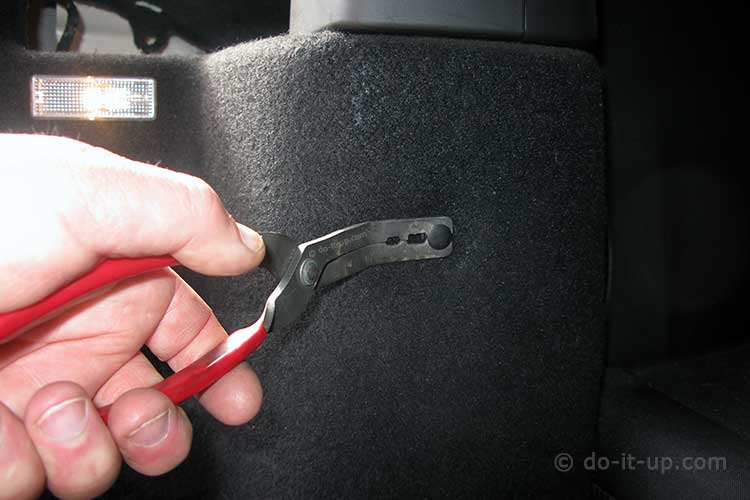
- This is to raise the head of the pin enough to slide a pair of flat pliers behind.
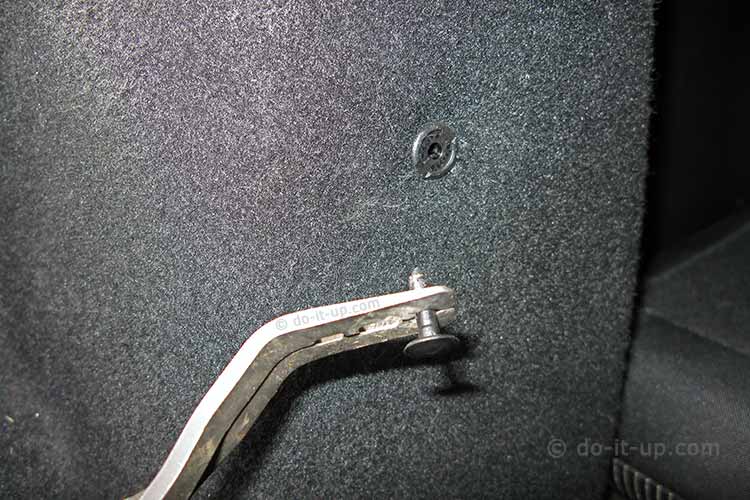
- Push the pin out 90% of the way (or all the way) and then the clip should release the side panel
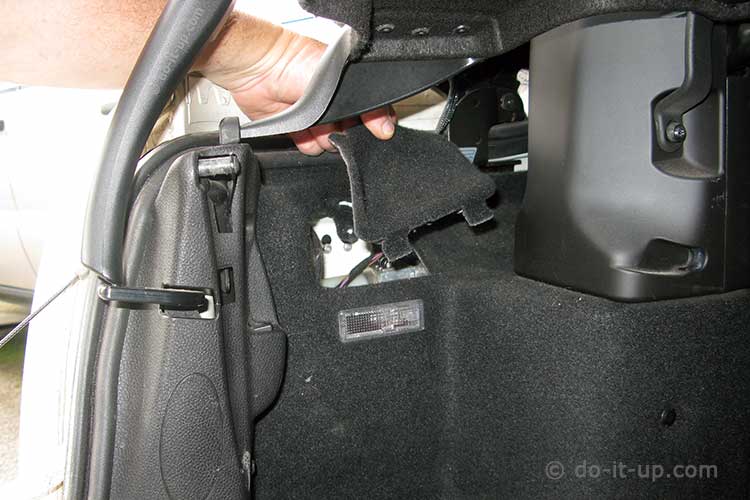
After the boot liner side panel was loosened. The interior light was disconnected, by peering behind the panel and removing the cable.
The side trim panel is removed by gently easing the panel away from the wheel arch and roll bar pillar.
You may also find the rubber seal around the boot edge needs easing to release the side panel.

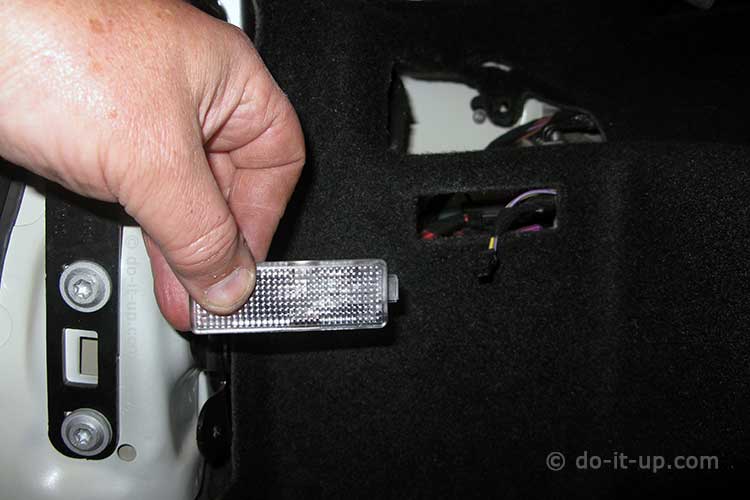
The Side Trim Panels – Inserts or Access Panels:
The side panel insert (or access panel) is used for gaining access to the rear lights. If you remove the side panel insert. It clips in (3 tabs) and is removed by gently persuading the tabs past the edge of the hole.
Buying Tools & Parts:
If you’re not sure what you need, have to look to see what is available? The list below may give you some idea of the tools and fixings that are available…
| Trim & Side Panel Tools, Fasteners, etc | |
|---|---|
| Item | Location |
| Trim, Clip, Panel Removal Tools |
 UK Prices
|
 US Prices
|
|
 AU Prices
 |
|
 CA Prices
|
|
| Trim Fixings, Fasteners, Clips, etc. |
UK Prices
|
|
US Prices
|
|
|
AU Prices
|
|
|
CA Prices
|
|
Thank you for your support.
Refitting the Boot (Trunk) Liner or Panels:
Replacement is the removal process in reverse, other than:
When refitting the boot liner side panel, it was easier to:
- Push out the Interior light fitting.
- Refit the panel (with the cable poking out the light fitting hole).
- Connect the light fitting.
- Push the Interior light fitting back into the boot liner side panel.
Hints & Tips:
- Keep the fixings in a tin or plastic tub so you don’t lose them. If there are different fixing sizes, make a note so you know how and where they go back.
Image Gallery:
– click or tap the image to view full size –