How to Repair a Cracked Broken Remote Key Fob
A few years ago I had a quote for a replacement remote key fob (or remote keyless entry system) from the main dealer. This was just over £100 for the keyfob and £50 for reprogramming the keys ($240)! Searching the internet you can get replacement/second hand remote key fobs, but these still need to be re-programmed to your vehicle.
Repairing your Cracked or Broken Remote Key Fob
If the electronics have failed then I’m afraid it’s a new key fob or sending it to a specialist repairer (make sure it’s not just the key fob battery. If you can get into the vehicle, but it won’t start, then it could be one of the vehicle control units / computer).
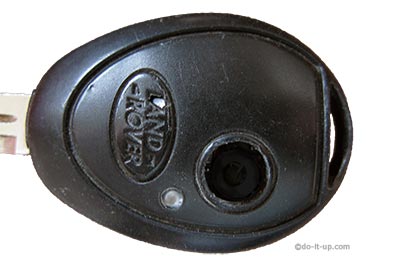
If the casing is broken (as in the image), then you can repair your key fob very simply without major cost! – Just follow the steps below…
Tools you may need
- Wide blade screwdriver.
- Silicone sealant.
- Plastic bag.
The Repair
Prise open the key fob. You should have the two halves and the circuit board which contains the battery, buttons etc. Lift the circuit board out. Remember to take care with circuit boards, hold by the edges, don’t wear static-laden clothes, as the static could damage the circuit card!
Key Fob Repair – Apply Silicone to Reinforce Cracks Before the Key Fob Breaks 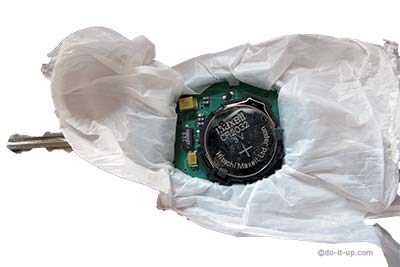
Key Fob Repair – Protecting the Circuit Card and Ensuring it Fits
Squeeze a small amount of silicone on the rear of the key fob case.
Place a thin piece of flexible plastic (like a bag) over the rear of the key fob (over the top of the silicone just applied) and fit the circuit card. This will ensure a correct fit before the silicone is dry (make sure the circuit card button is not depressed during this process).
Key Fob Repair – Using a Fuse Cap 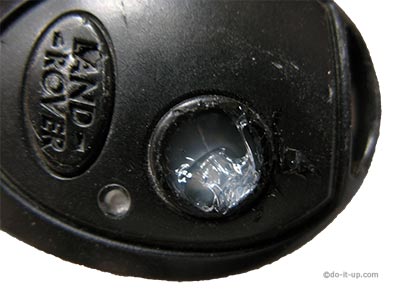
Key Fob Repair – Fill the Key Fob with Silicone
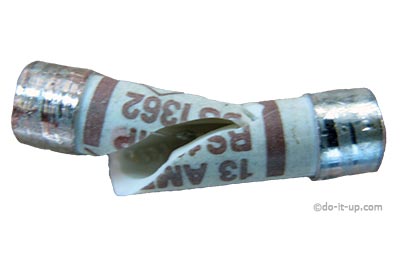
To repair the larger hole, find something to plug the gap, such as an end cap off of an old fuse.
As previously, place a thin piece of flexible plastic (like a bag) over the rear of the key fob and fit the circuit card. From the other side this time, squeeze some silicone into the hole (you can get black silicone).
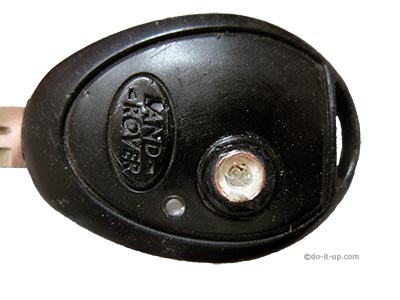
Insert the end cap off of an old fuse into the hole. In this case, the end cap is used as a replacement button The base of the cap must be able to push against the button on the circuit card.
Key Fob Repair – Insert a Replacement Button 
Key Fob Repair – Inserting the Silicone into the Button
Squeeze a bit more silicone into the hole and smooth off. (make sure the circuit card button is not depressed). Leave to dry.
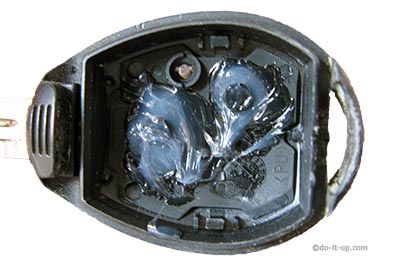
This is the view after the silicone has dried (24 Hrs) with the plastic and circuit card removed.
Don’t forget. Don’t wait for the key fob to break. This photo shows the silicone applied to reinforce the key fob before any cracks have appeared!
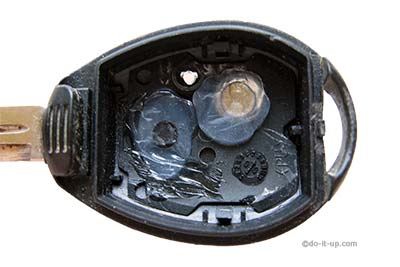
Key Fob Repair – The Silicone Repair After it is Set Key Fob Repair – Apply Silicone to Reinforce Cracks Before the Key Fob Breaks
As before, place a piece of plastic over the fresh silicone and insert the circuit card. Leave for 24 Hrs to dry (make sure the circuit card buttons are not depressed).
When dry, remove the plastic, re-assemble the key fob and you should have a fully working key Fob. If needed, you can get black silicone for a neater repair.